- 01
Review project completion
Check the project overview, spaces, product records and form progress before building the report—imported content is a snapshot of the project at that moment.
- 02
Open the Reporting tab
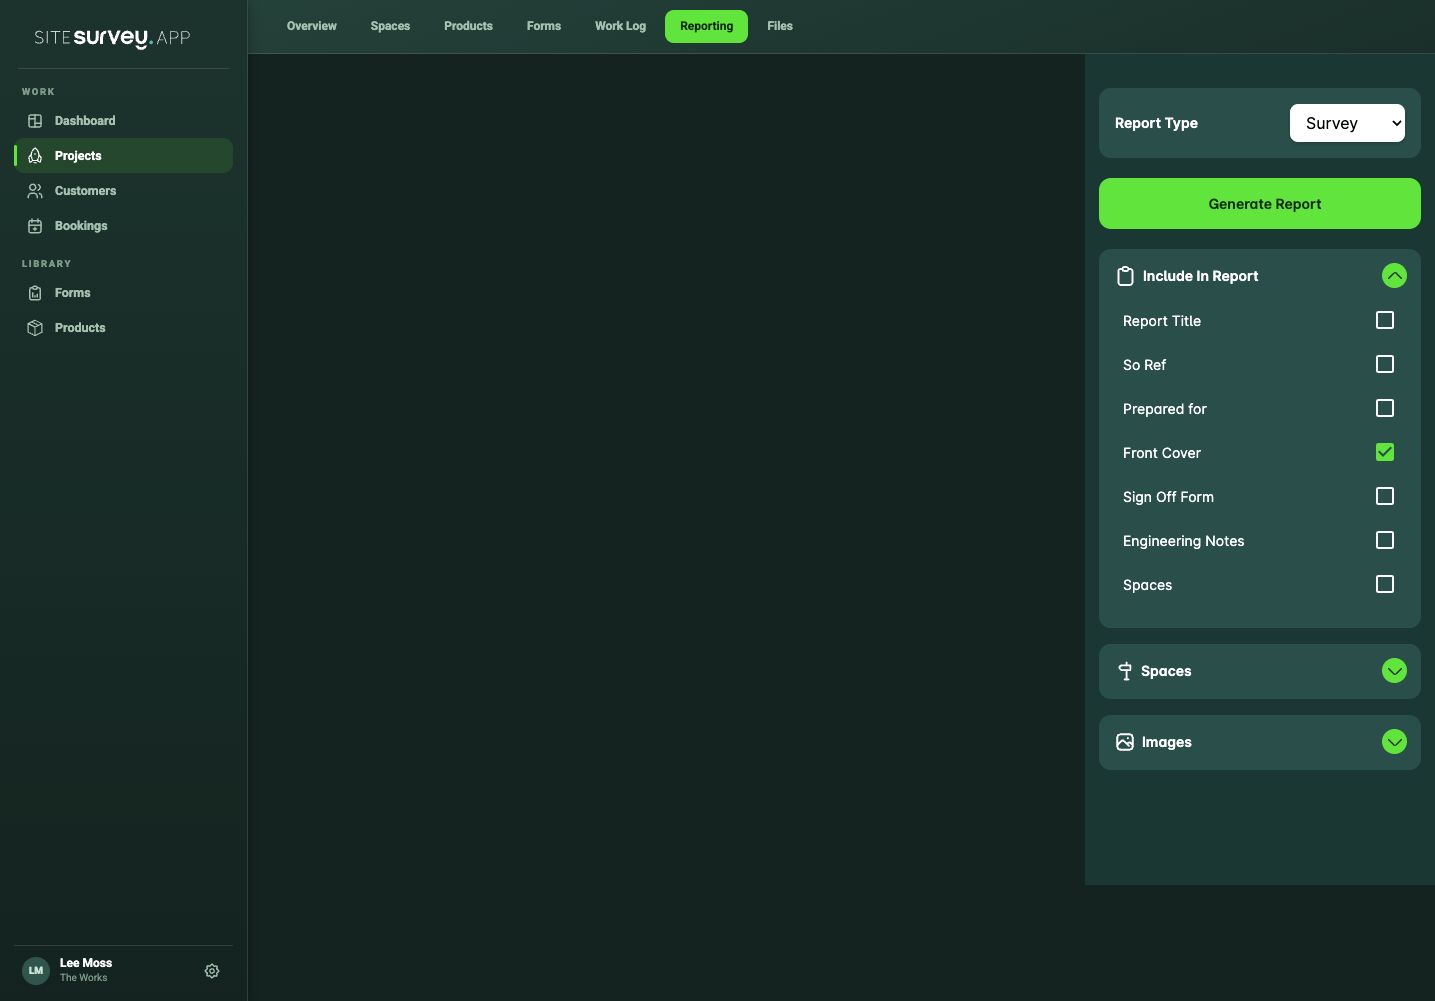
Open the project and select Reporting. A new report starts with a front cover pre-filled with the customer, site address, your name and today’s date.
- 03
Set up the document
In the Control Room, open Document to choose a cover style, add or remove the front cover, and switch the header and footer on or off. Click any cover text—title, prepared for, site or date—to edit it in place.
- 04
Import spaces
Under Spaces on this site, expand a space card and add its summary, product table, images or answered forms. Use Add all from this space to insert everything in one go.
- 05
Import Walk Cam records
Under Walk Cam, expand a session and select Add all questions, or expand the question list and add individual questions. Each question is inserted with its transcribed response and captured images.
- 06
Arrange and edit
Click any text to edit it. Hover a block to drag it into position, add new blocks or remove it. Type / in the body for more block options.
- 07
Save your work
The report saves automatically as you edit and a copy is always kept on your computer, so you can keep working without a connection. Select Save to force a save immediately.
- 08
Export and share
Select Export PDF or Export Word. The file downloads to your computer and a copy is stored in the project’s Files tab, ready to share with the customer or your team.
Good to know
- ✓Imported content is a snapshot—update the project first, then re-import if the data has changed.
- ✓Exports need an internet connection; editing and saving work offline.
- ✓Clear doc wipes the report and resets the cover after a confirmation—use it only to start over.
Was this guide helpful?
Your feedback helps us improve support content.