- 01
Open the Files tab
Open the project in the web portal and select Files in the project navigation. The tab shows every file and folder stored against the project.
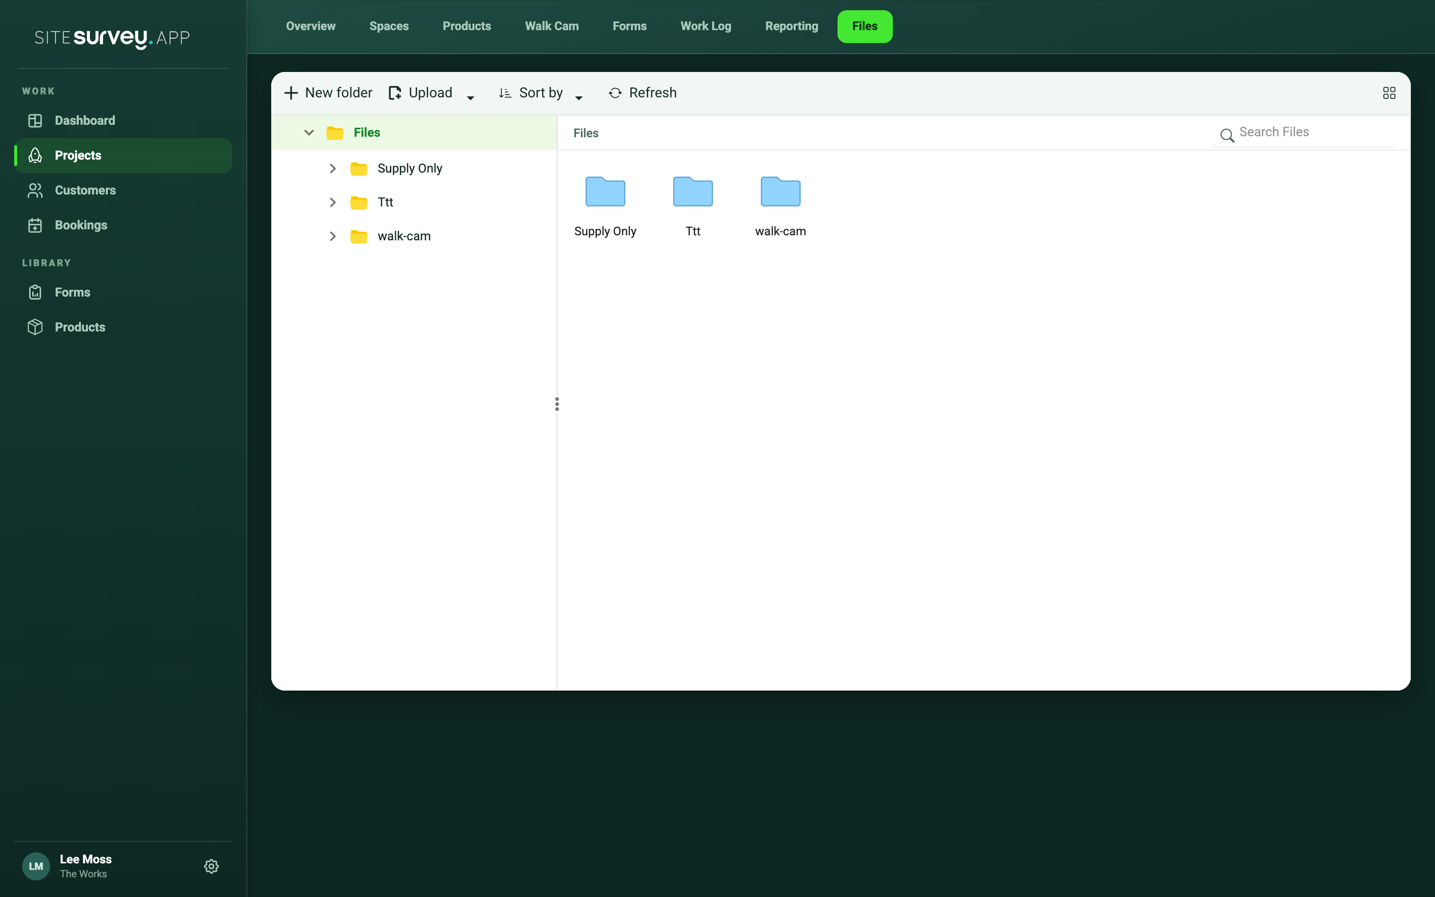
- 02
Upload files from your computer
Use the Upload option in the file manager toolbar, or drag and drop files straight into the window. You can upload individual files or whole folders.
- 03
Organise with folders
Create folders with New Folder and move files into them by dragging, or with Cut from the right-click menu. Keep a simple structure such as Drawings, Photos and Reports.
- 04
Open, download or tidy up
Right-click any file to Open, Download, Rename or Delete it. Use the search box in the toolbar to find a file by name.
- 05
Capture files from your phone
On site, add photographs and documents through the file fields in your forms. Tap Select File, then choose Photo Library, Take Photo or Choose File, and the files upload when the form syncs.
- 06
Find exported reports
When you export a project report or an AI form summary as PDF or Word, a copy is saved into the project Files tab automatically as well as downloading to your computer.
Good to know
- ✓Keep file names clear—everyone on the project sees the same Files tab.
- ✓Delete with care—removing a file from the Files tab removes it for the whole team.
Was this guide helpful?
Your feedback helps us improve support content.