- 01
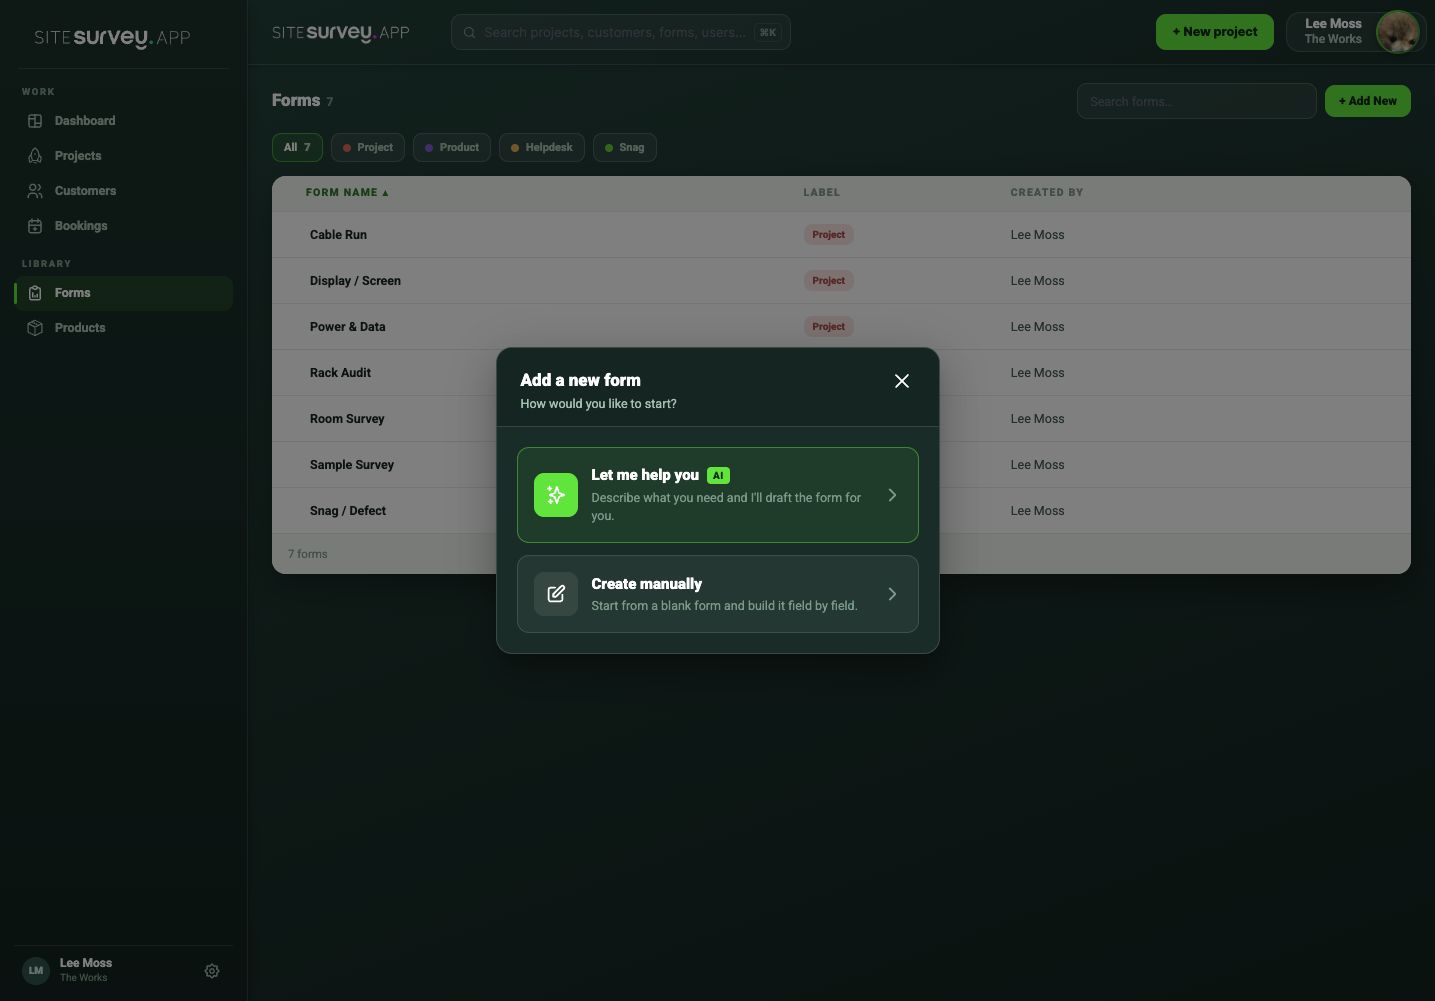
Open the form assistant
Go to Forms, choose Add New, then select the AI-assisted option for creating a new form.
- 02
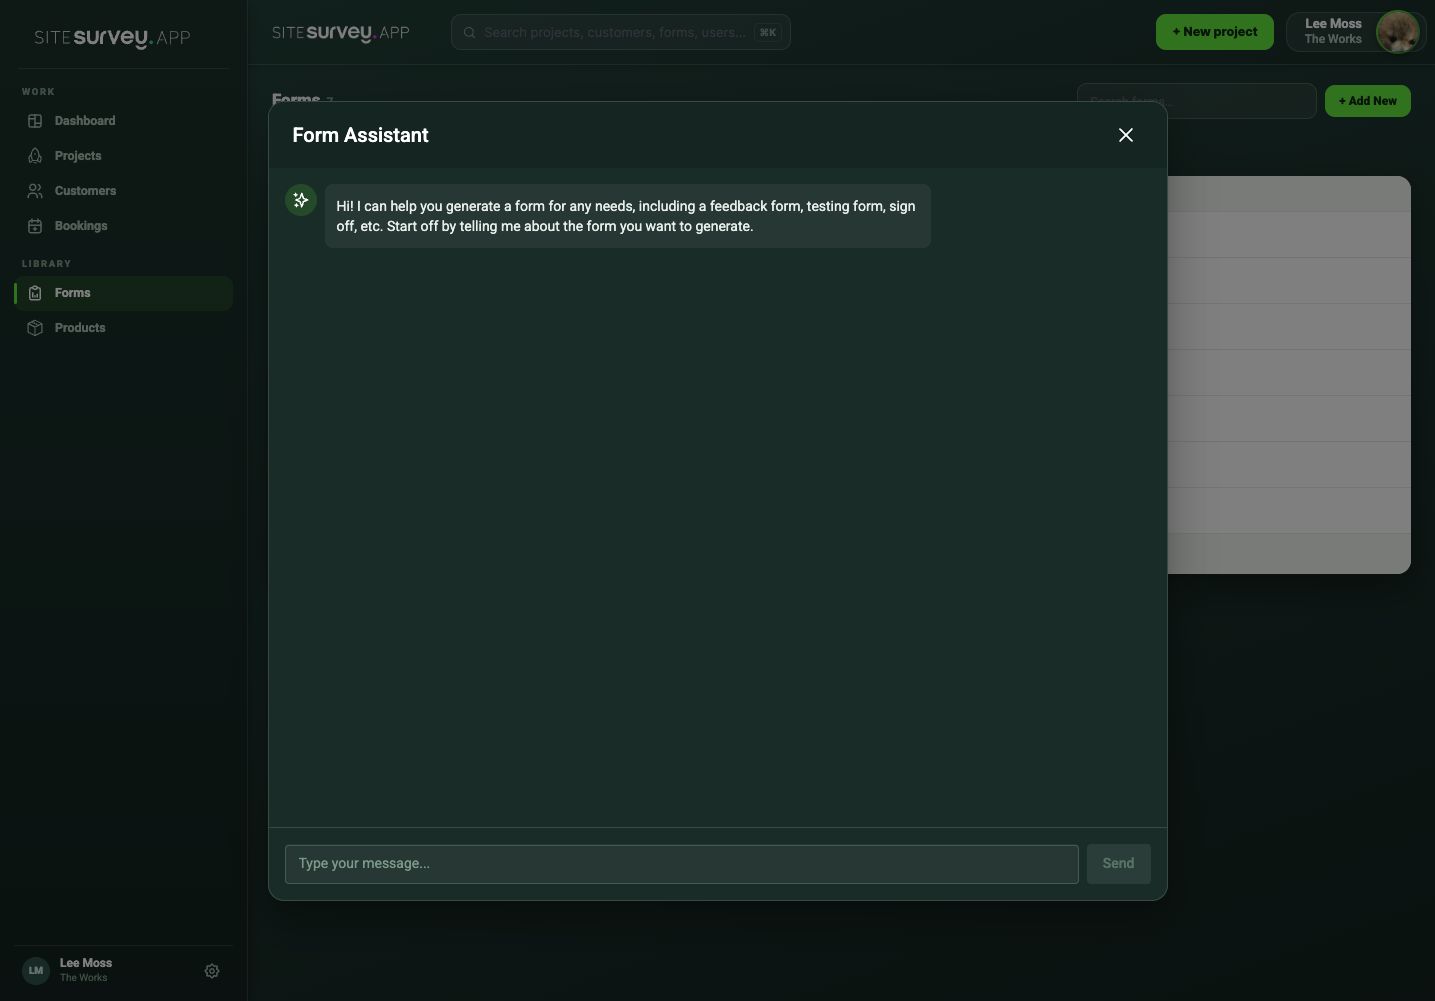
Describe the job
Explain the type of survey, installation or commissioning activity the form needs to support in plain language—for example, a FAT checklist with mechanical checks, three photographs and dual sign-off.
- 03
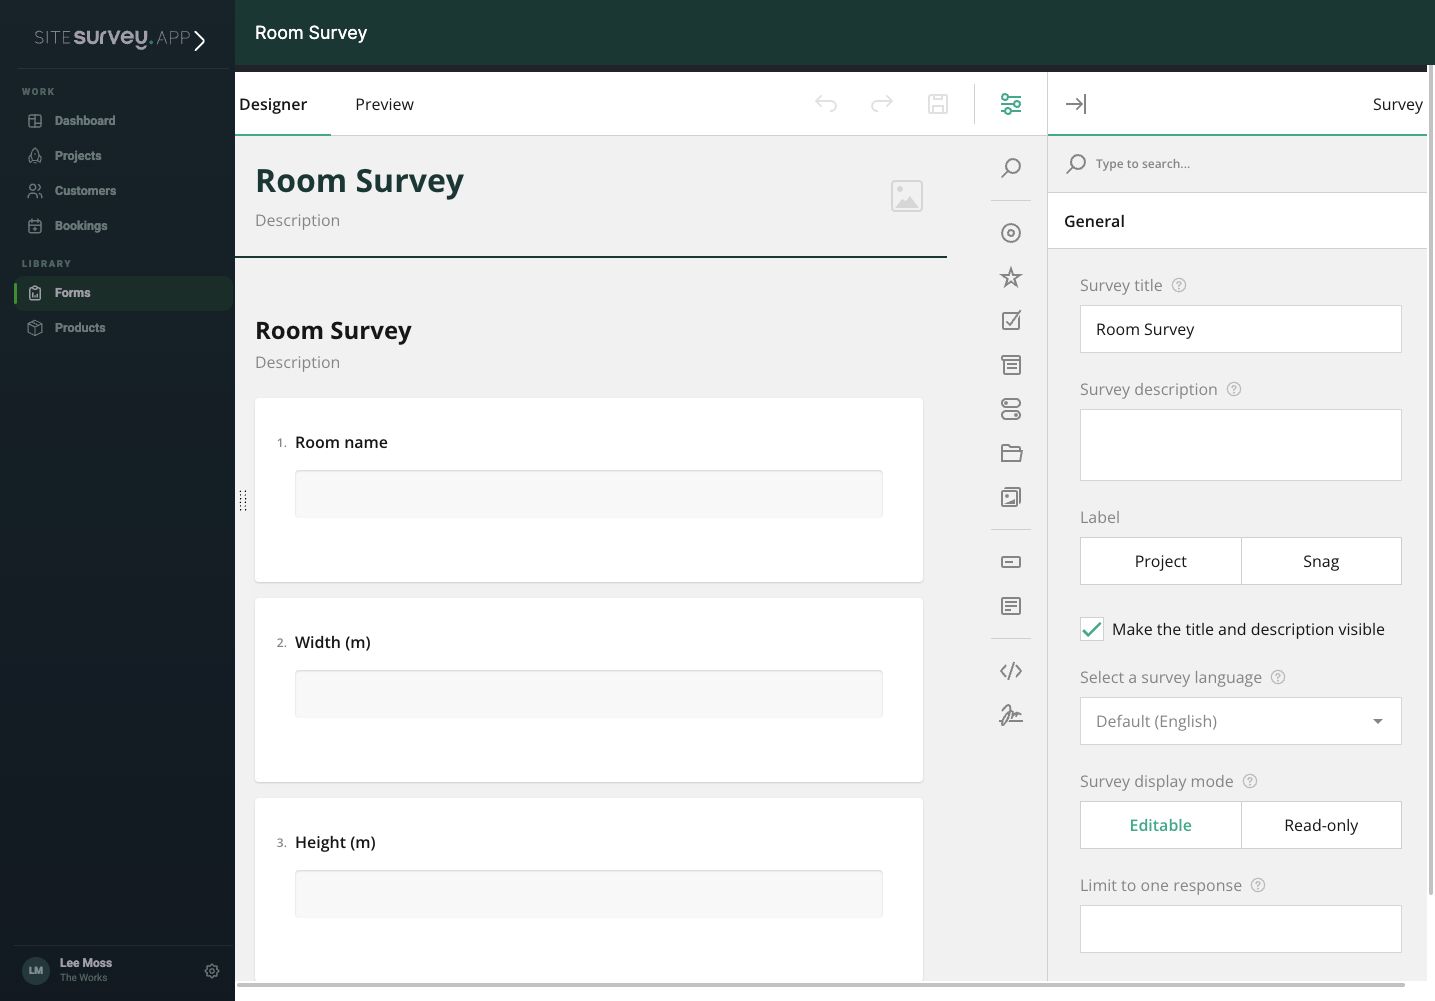
Review the generated form
The assistant generates the pages, fields and evidence requirements. Check the structure in the form designer before refining it.
- 04
Refine it conversationally
Ask for changes in plain language—“add a photo when the answer is No” or “split this into more pages”. The assistant summarises what it did after each change, and suggestion chips offer useful next edits.
- 05
Set validation and logic
Choose input types such as email, phone, date, number or URL, mark fields required—including required only while visible—and add show/hide rules joined by AND or OR.
- 06
Prefill from the project
Auto-fill answers from project, customer, site, space and product data, and feed dropdown, radio or checkbox choices from products, spaces, sites, customer contacts or team members by role.
- 07
Preview and publish
Use the live fill preview with mock data in List or Focus mode to test every path, then save the form to the library ready for assignment.
Good to know
- ✓A detailed prompt produces a more useful first draft.
- ✓Ask for required photographs or sign-off explicitly when they are essential.
- ✓Undo reverses the last change, and Copy JSON exports the form definition for safekeeping.
Was this guide helpful?
Your feedback helps us improve support content.