A project is the main record for a site or job. Start by creating the account, then give the project a clear name and connect it to the correct customer.
- 01
Create your workspace
Open the SiteSurvey sign-up page, enter your work details and follow the account setup prompts. No payment details are required for the seven-day trial.
- 02
Add your company details
Complete the workspace details so reports, invitations and project records use the correct company information.
- 03
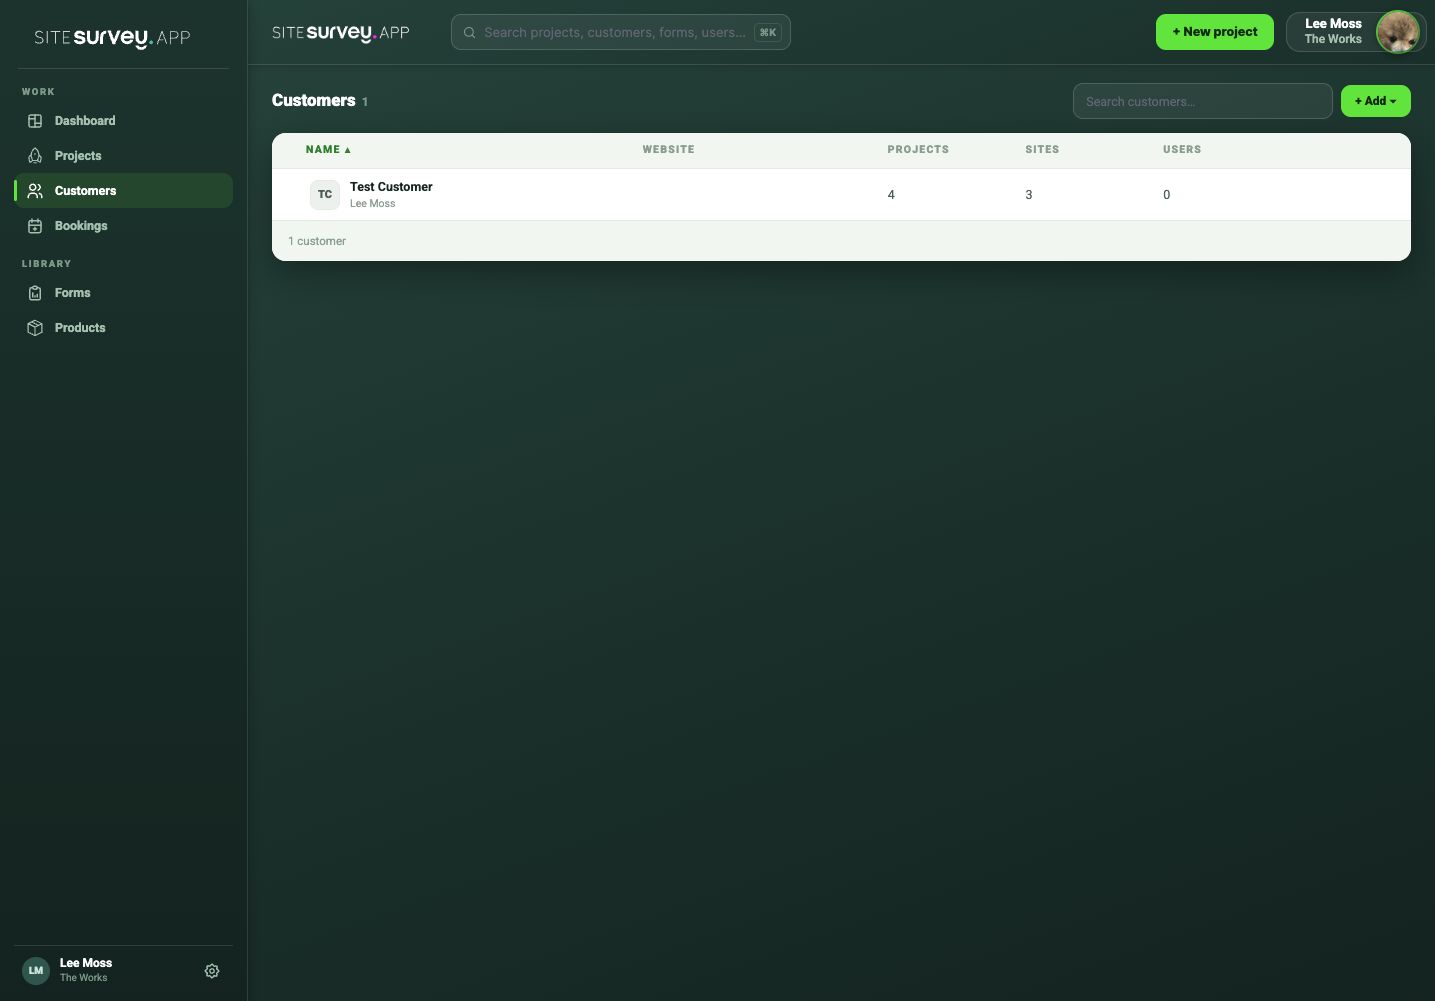
Create a customer
Add the organisation the work is being delivered for. Customers keep related projects grouped together and easy to find.
- 04
Create the project
Select New project, add a clear project title and choose the customer. Add the site or order reference your team will recognise.
- 05
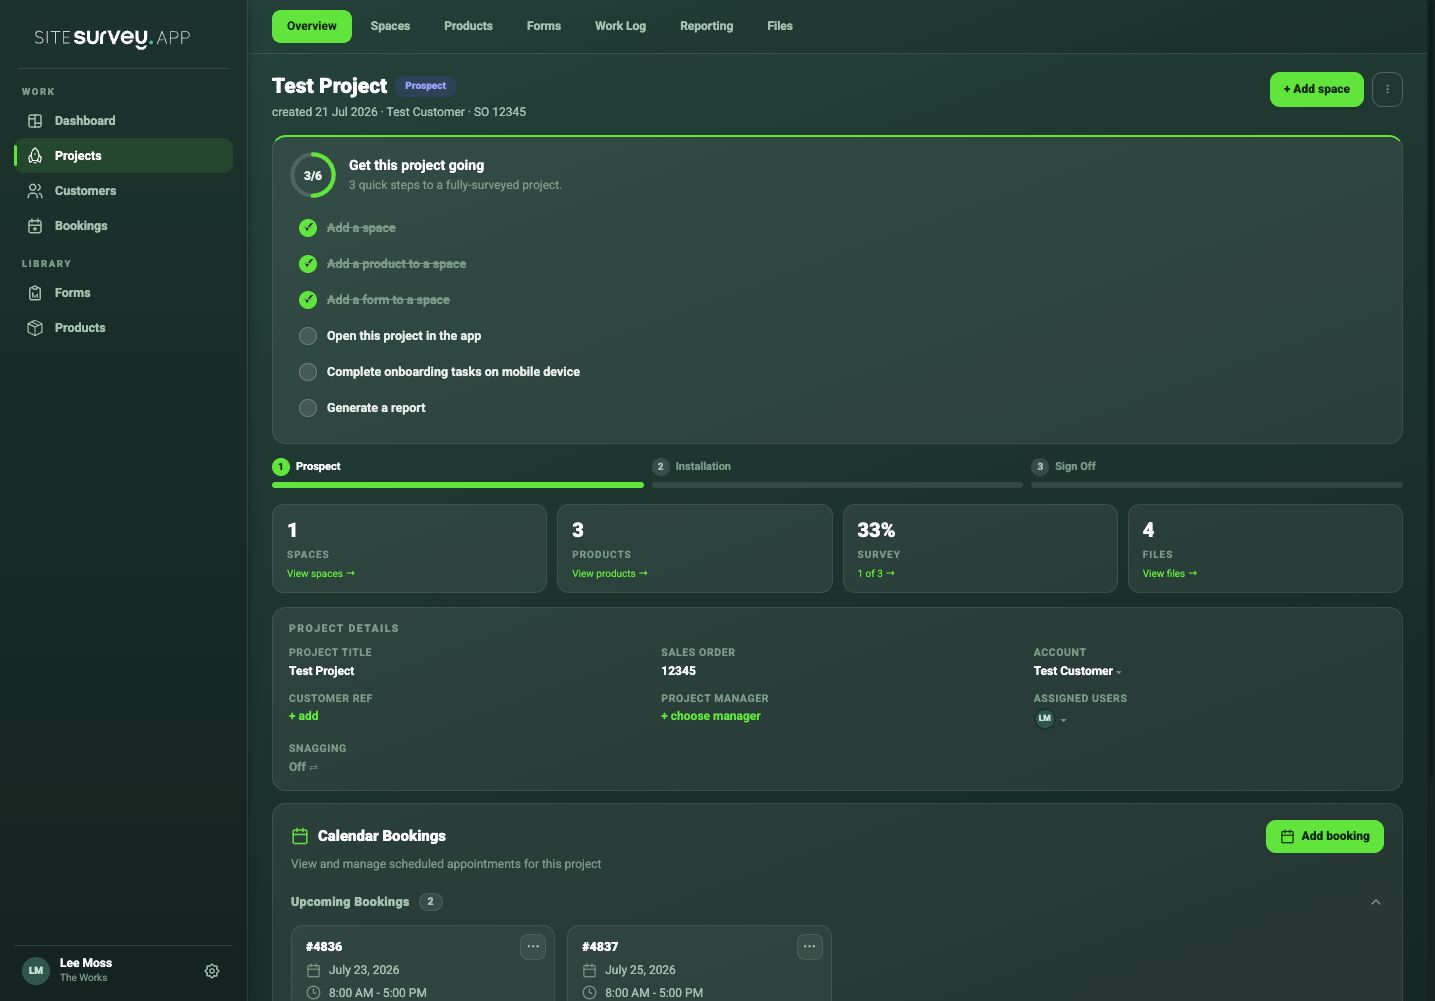
Open the project overview
Use the overview to add spaces, assign products and forms, schedule bookings and monitor survey progress.
Good to know
- ✓Use the same project reference your commercial and delivery teams already use.
- ✓Create one project per site or clearly defined job so reports remain easy to understand.
Was this guide helpful?
Your feedback helps us improve support content.