- 01
Open Customers
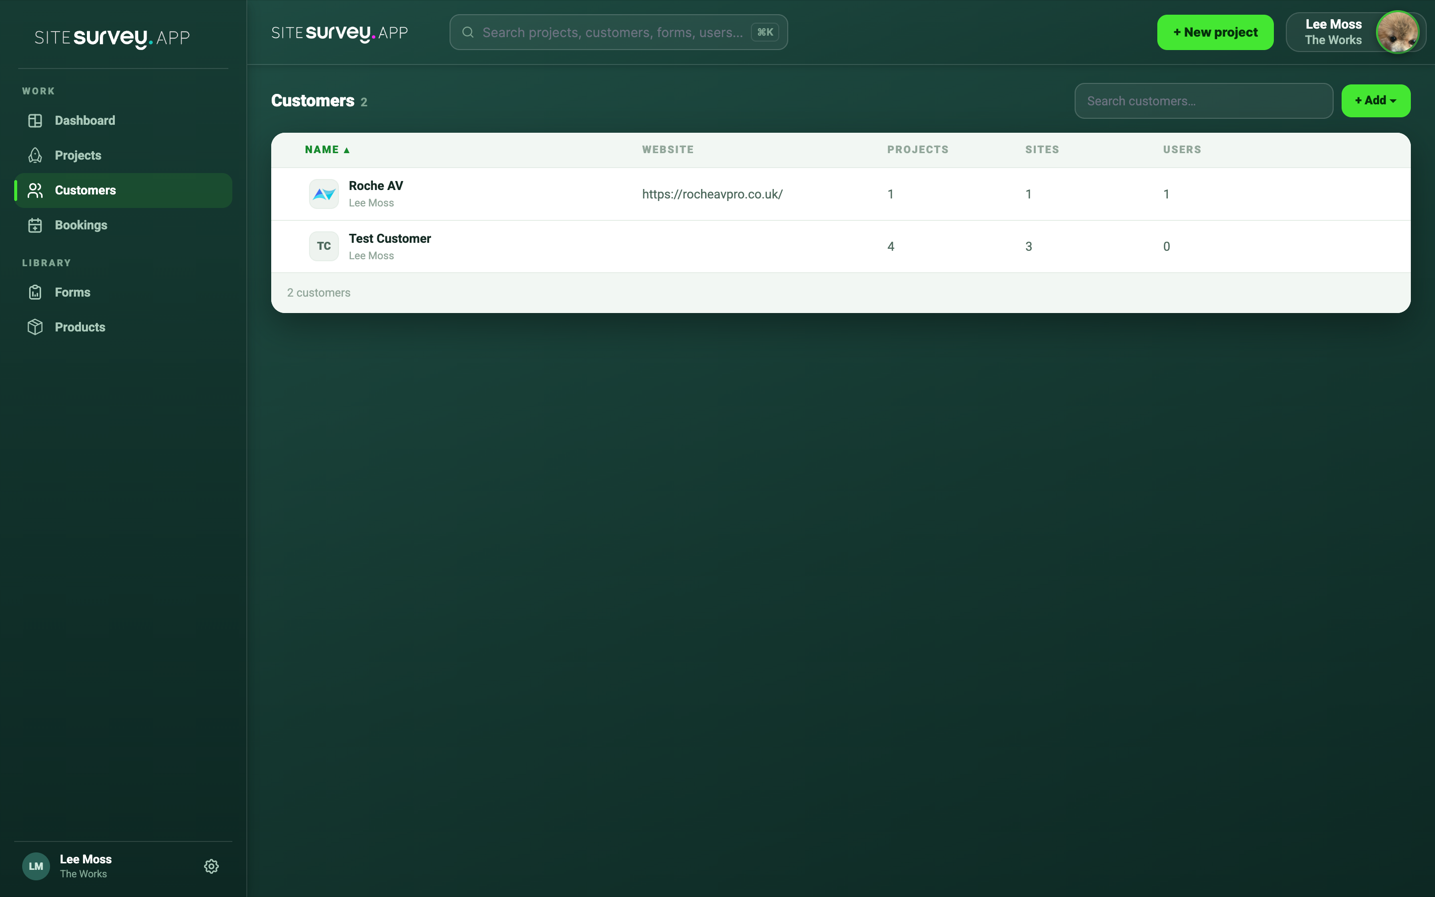
Select Customers in the main navigation. The list shows every customer with its website and the number of projects, sites and users linked to it, and you can search or sort by any column.
- 02
Start a new customer
Select + Add, then Add New. In the drawer, choose Company for a business or Person for an individual consumer.
- 03
Enter the company details
Add the company name and website—SiteSurvey pulls the logo from the website automatically. Search for the address to save it as the customer's primary site.
- 04
Add the contact and account manager
Enter the primary contact's name, email and phone, and choose the account manager (it defaults to you). If you add a contact email, that person is set up as the customer's primary user when you save.
- 05
Save and review
Select Save in the drawer header. The customer appears in the list straight away and can be selected when you create a project.
- 06
Edit or delete a customer
Select any row to open the customer's profile, with tabs for Customer Info, Users, Projects, Site and Sub Customers. Change details on Customer Info and Save, or use Delete—a customer that still has projects or sites cannot be deleted until they are removed or reassigned.
Good to know
- ✓Enter the website as a plain domain such as acme.com so the logo lookup works first time.
- ✓The address you add becomes the customer's primary site, so use the site where the work will happen.
- ✓If your workspace is connected to Jetbuilt, use + Add then Import from Jetbuilt to bring customers across instead of typing them in.
Was this guide helpful?
Your feedback helps us improve support content.