- 01
Start with a snag list form
You need a form with a repeating snag section. Snagging Inspection in the form library is one, written for new homes and construction handover. For other trades, build your own with a section that repeats once per snag, or ask us through a support ticket and we will set one up. The screenshots in this article use a snag list written for AV installs.
- 02
Add the form to the room
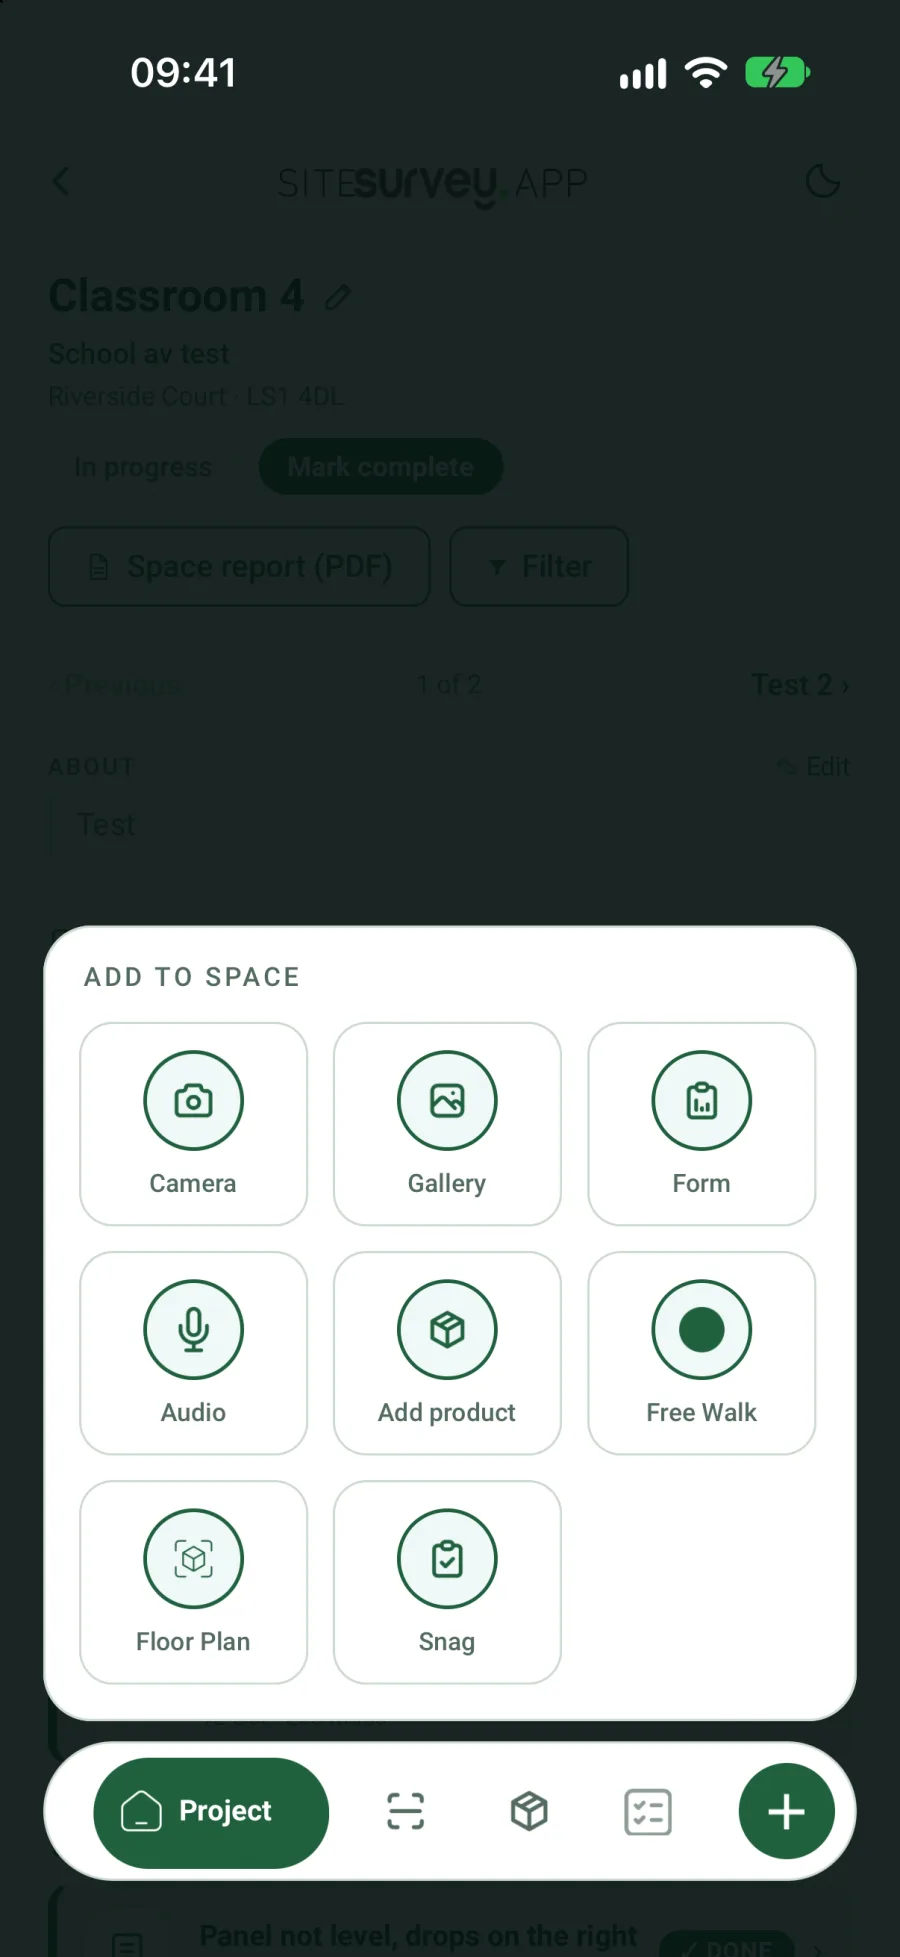
On the phone, open the project and then the room. Tap the add button at the bottom right, choose Form and pick your snag list. The form opens with the project and the room already filled in.
- 03
Record the first snag
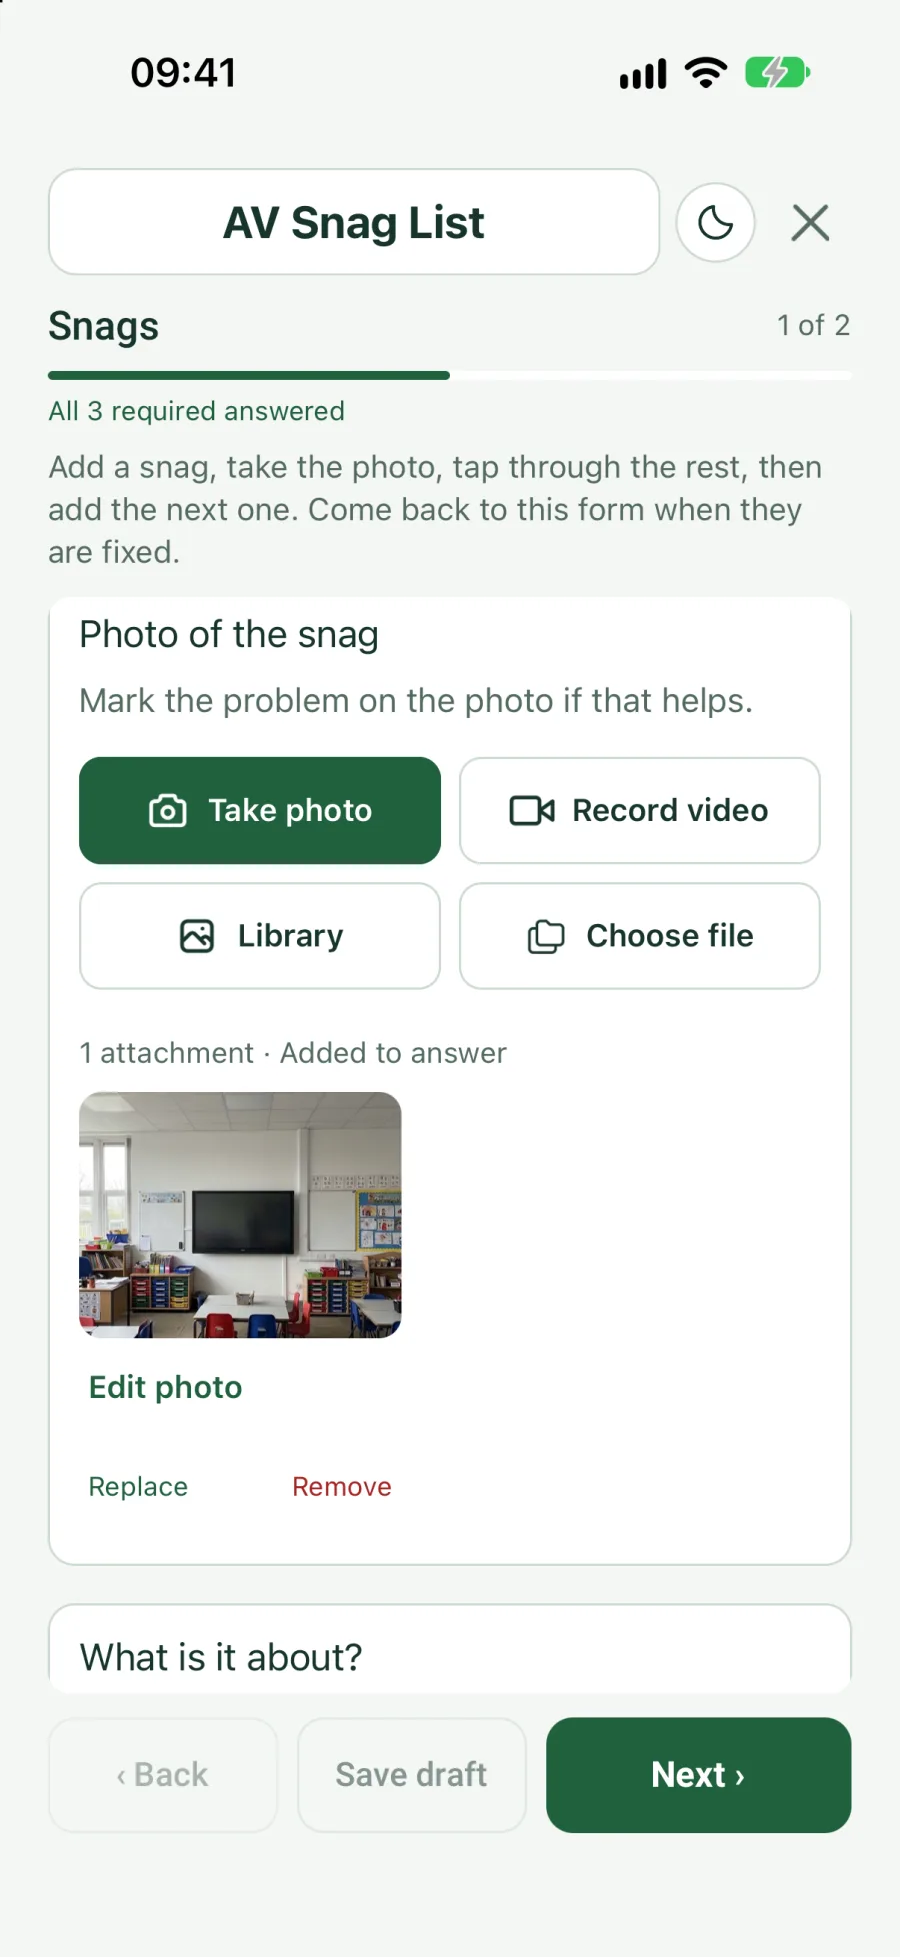
Type what is wrong in a few words, for example Panel not level, then take a photo or choose one from the library. Tap through the rest: what it is about, how urgent it is and who needs to put it right.
- 04
Add another snag for each problem
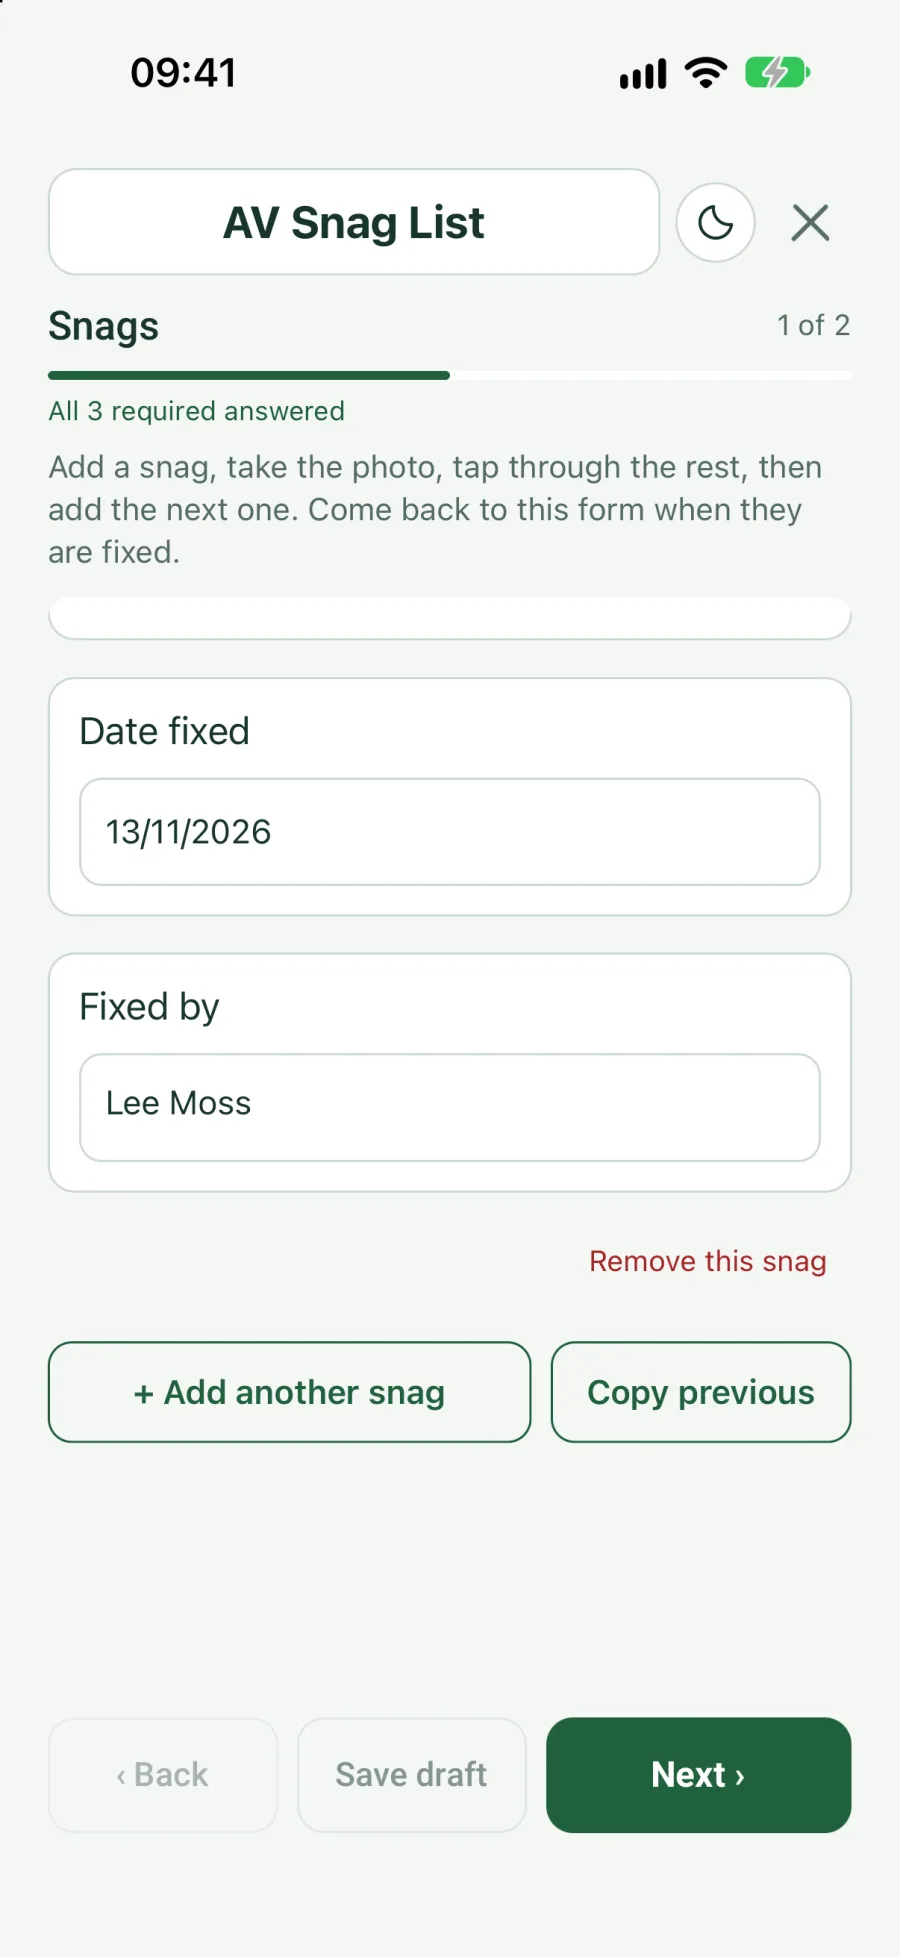
At the bottom of the snag, tap Add another snag and record the next one. There is no limit you are likely to reach: a room can hold dozens of snags.
- 05
Save the list and leave it in progress
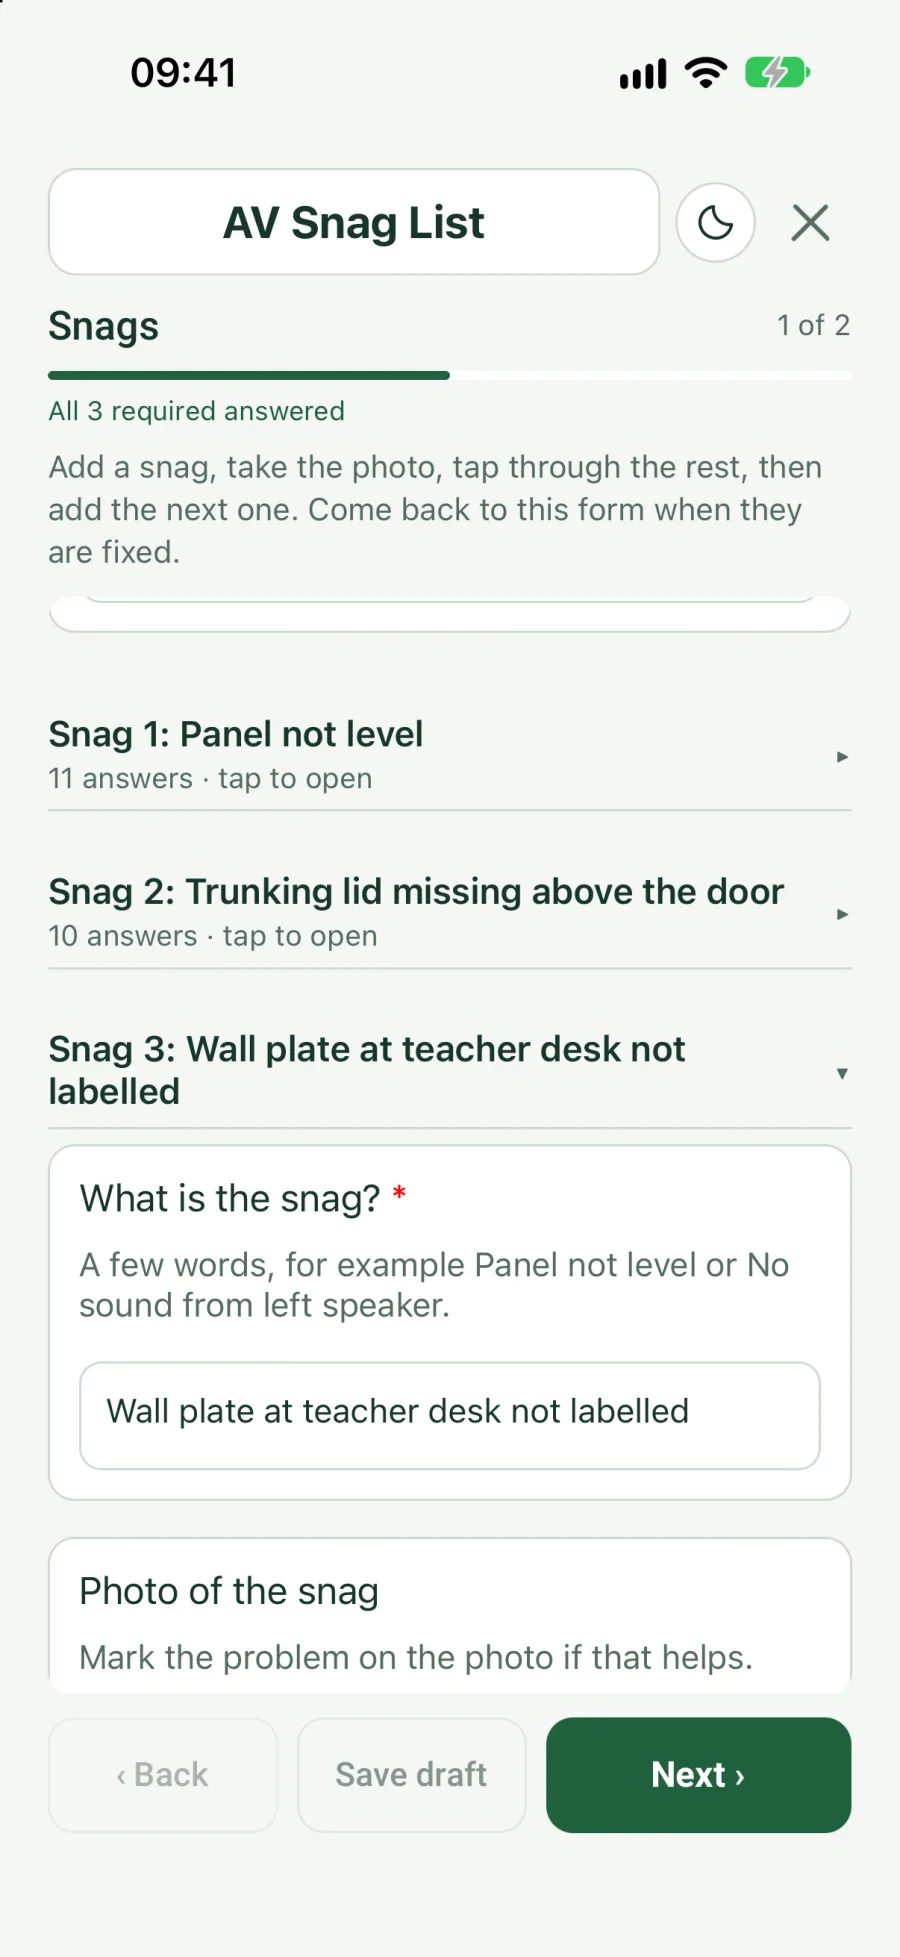
Tap Save draft when you have walked the room. Finished snags fold down to one line with their title, so the list stays easy to read, and you can tap any of them to open it again. The form uploads as soon as the phone is online.
- 06
Mark each snag put right
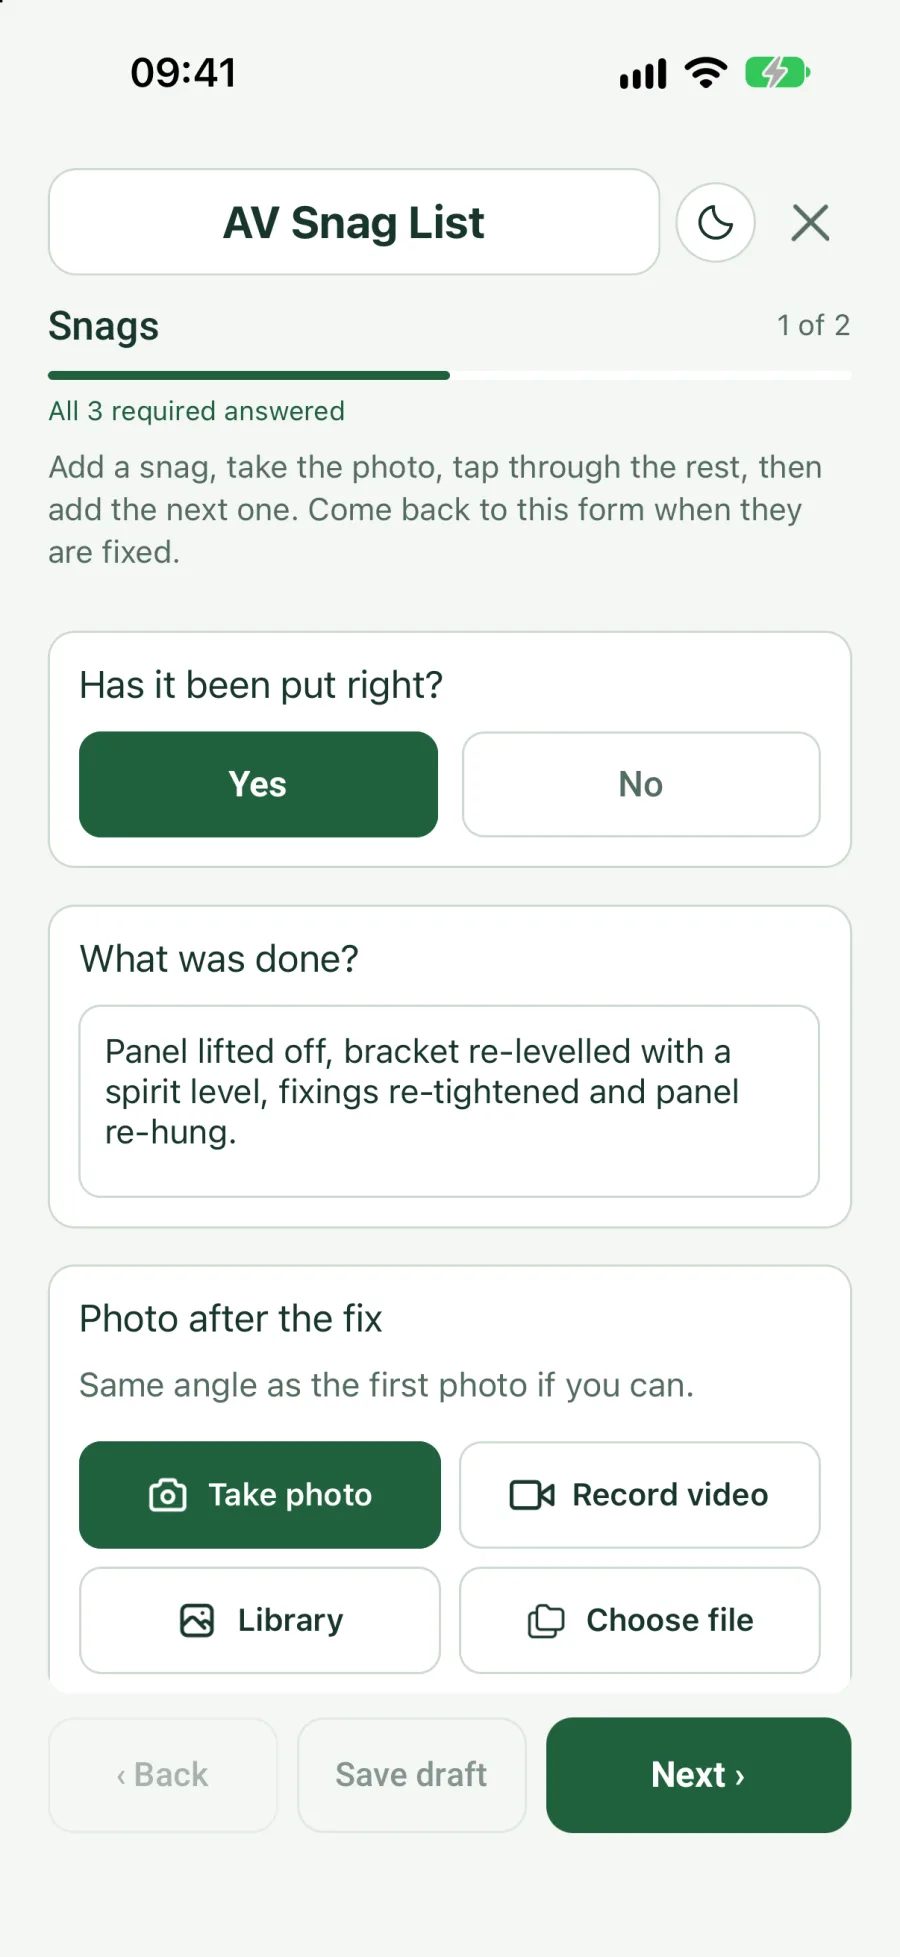
When a problem has been fixed, open the same form from the room and tap the snag. Answer Yes to Has it been put right, say what was done and add a photo of the finished job. Do this for each snag as it is fixed; the others stay as they are.
- 07
Complete the form at handover
Once every snag in the room is put right, go to the last page, collect a name and signature if your form asks for one, and tap Complete. Until then leave the form in progress, so an unfinished room is easy to spot.
- 08
Check the rooms on the web
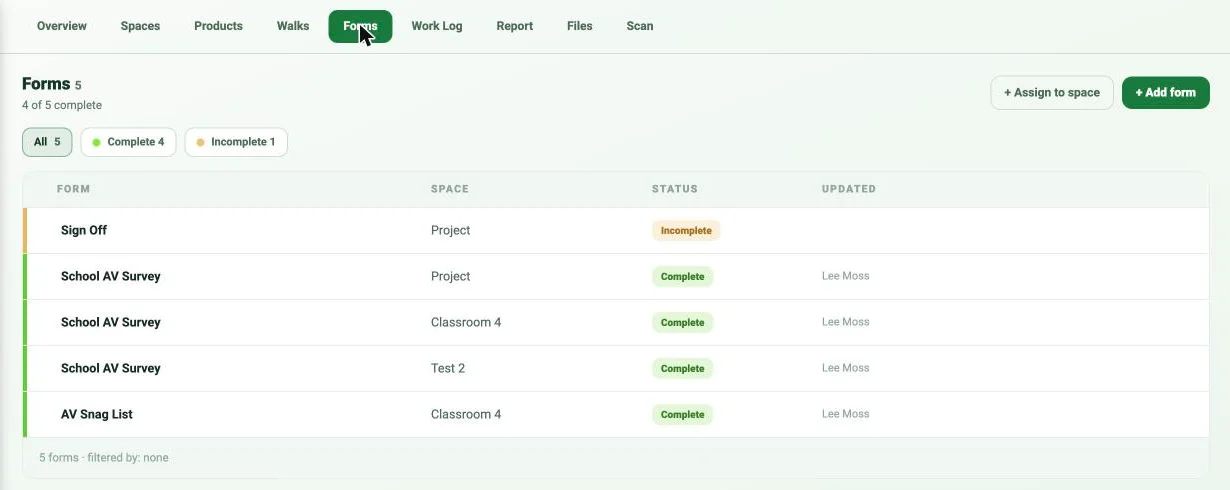
On the web, open the project and select Forms. Every room's snag list is there with its room and whether it is Complete or Incomplete, and you can filter to the incomplete ones. Open a list to read its snags and photos, or add it to a report like any other form.
- 09
Prefer one form for each snag?
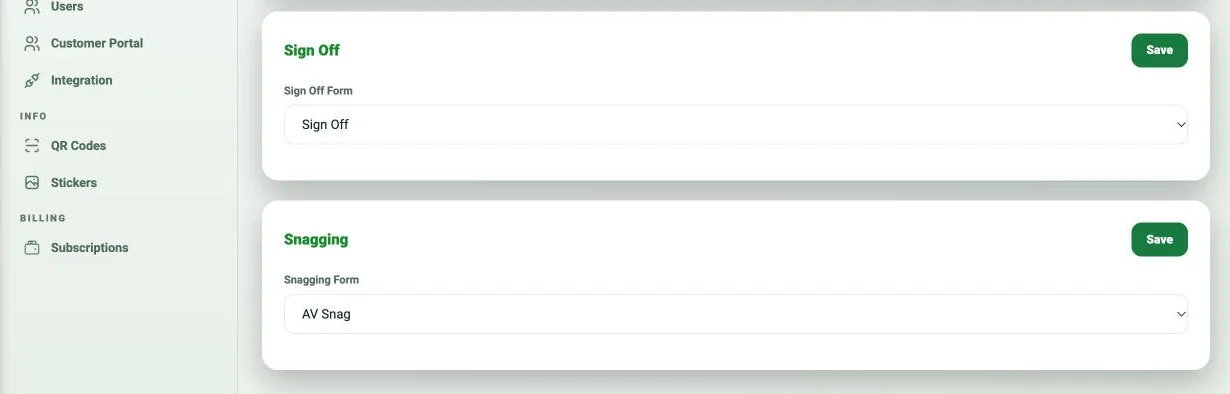
There is a second way to work. In Settings, under Projects, the Snagging card sets one short form that the Snag button in the app opens, once for every snag, each with its own title and its own In progress or Done. Our support team switches this on one project at a time, so send a support ticket with the project name if you want it. Snags raised this way show in the room in the app, not on the web.
Good to know
- ✓Raise one snag for each problem, not one for several. Each can then be put right and photographed on its own.
- ✓Take the after photo from the same place as the first one, so the two can be compared side by side.
- ✓Use one snag list per room. If you add the form to the project instead of a room, the Room field is left for you to type.
- ✓A room is finished when its snag list is Complete. Filter the Forms tab to Incomplete to see what is left before handover.
Was this guide helpful?
Your feedback helps us improve support content.