- 01
Open the branding settings
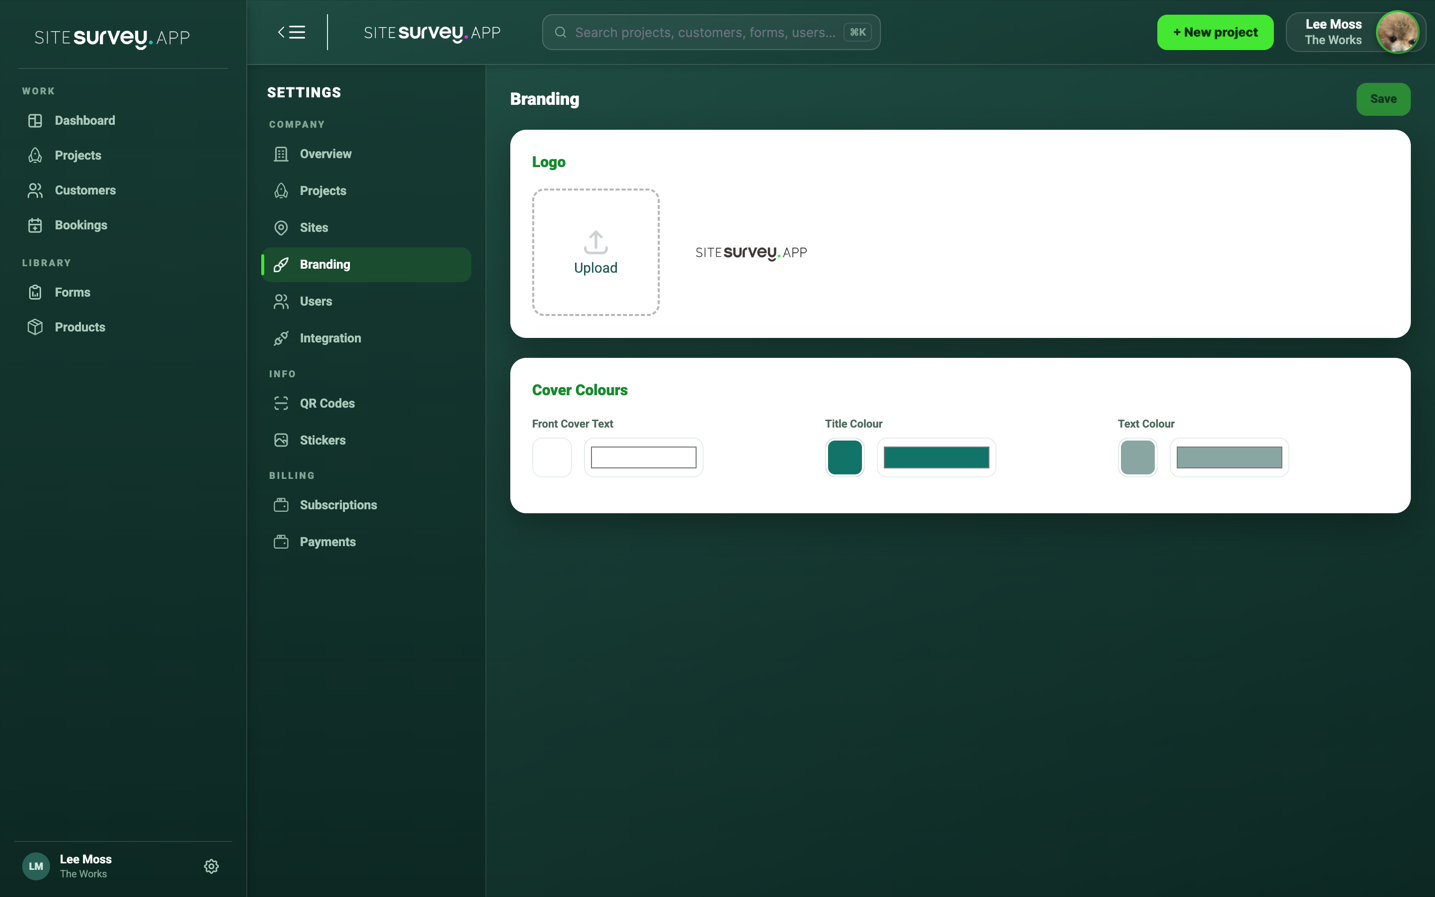
Go to Settings and choose Branding in the Company group. The page has two cards: Logo and Cover Colours.
- 02
Upload your logo
On the Logo card, select the upload box and choose your logo image. The preview keeps the logo's original proportions, so wide wordmarks are not stretched.
- 03
Check the tone message
After uploading, SiteSurvey tells you whether the logo was detected as light or dark. A light logo is converted to a dark version so it stays readable on QR labels and reports, while the portal header still shows it light automatically.
- 04
Set the cover colours
On the Cover Colours card, pick the Front Cover Text, Title Colour and Text Colour using the colour pickers. These colours are used on the PDF reports you generate for projects.
- 05
Save your changes
Choose Save in the toolbar and confirm. The button stays inactive until you change something, so you always know when there are unsaved edits.
- 06
Check where the branding appears
Your logo shows in the web portal header for your team and customer users, on QR labels, on generated reports and on forms you share by public link. The colours appear on report covers, titles and body text.
Good to know
- ✓Upload a dark version of your logo where possible — it is used as-is on reports and labels and shown light in the portal header.
- ✓Generate a report after changing colours to check the front cover and titles read well before sharing it with a customer.
- ✓Replacing the logo updates it everywhere at once, including previously configured QR labels.
Was this guide helpful?
Your feedback helps us improve support content.