Capability 01
On-image measurements
Draw a line between two points on the photograph and key the real value in. A door height, a clearance gap or a wall run is recorded visually instead of buried in a note.
Photo annotation and markup
Mark up any site photograph on the phone the moment you take it. Draw on it, label it, drop a company sticker, measure it on the image and record a spoken note, all saved against the space, product or form field the photo belongs to.
From £13 per user per month · trial from £1, cancel any time
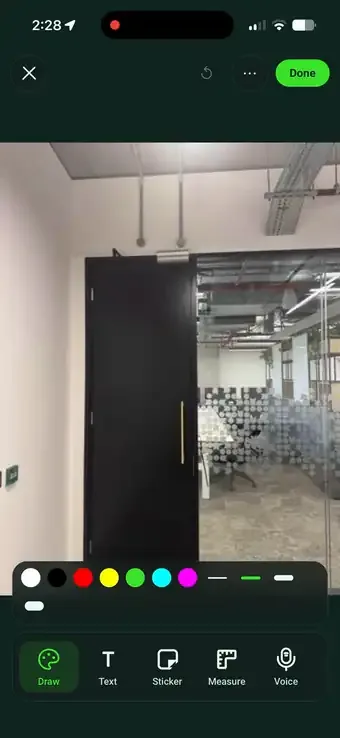
Photo annotation is marking up a photograph so it explains itself. In SiteSurvey you draw on a site photo, add text labels and company stickers, draw a measurement between two points and record a voice note that is transcribed beneath it, all on the phone and offline. The marked-up photo stays with its record and goes into the report.
Last updated 26 September 2026.
Draw, text, stickers, measure, voice
A photograph on its own rarely shows what the surveyor saw. The markup editor puts every tool on the image so the detail, its size and its meaning are recorded together, and the original capture is always kept alongside.
Capability 01
Draw a line between two points on the photograph and key the real value in. A door height, a clearance gap or a wall run is recorded visually instead of buried in a note.
Capability 02
Type the callout, tap Place and drop it anywhere on the image. Every defect gets called out in plain words on the evidence itself.
Capability 03
Circle the crack, trace the cable run or scribble the route by hand. Pick the colour and stroke weight that stands out against the photograph.
Capability 04
Upload your own symbols once in Settings and the whole team can drop them onto photos: hazard marks, equipment icons and status badges, consistent across every survey.
Capability 05
Speak the detail that is quicker said than written. The waveform records on the phone, plays back in place, and the note is written out underneath the photo as text you can read at a glance.
Capability 06
The marked-up photo stays attached to the space, product or form field it was captured against, and the untouched original is preserved beside the annotated copy.
Every tool, on one photo
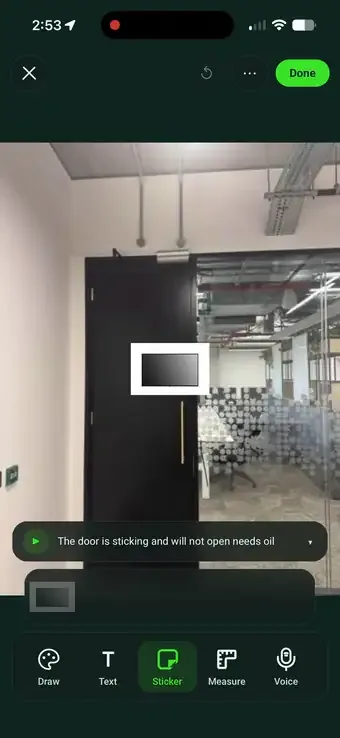
One photograph of a sticking door, marked up on site. Each tool adds a different kind of detail to the same image, and the finished annotation carries all of them into the report.
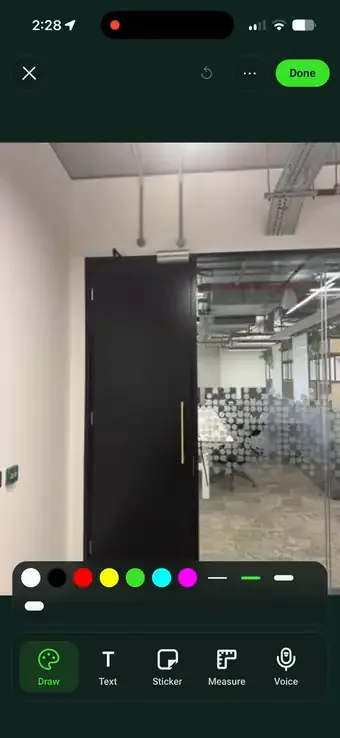
Step 01
Circle the defect by hand. Pick the colour and stroke weight that stands out against the photograph.
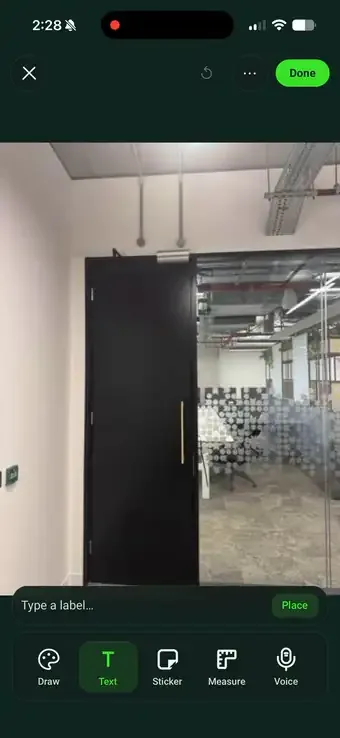
Step 02
Type the callout, tap Place, and drop it where it belongs, so the marked-up area says what it is.
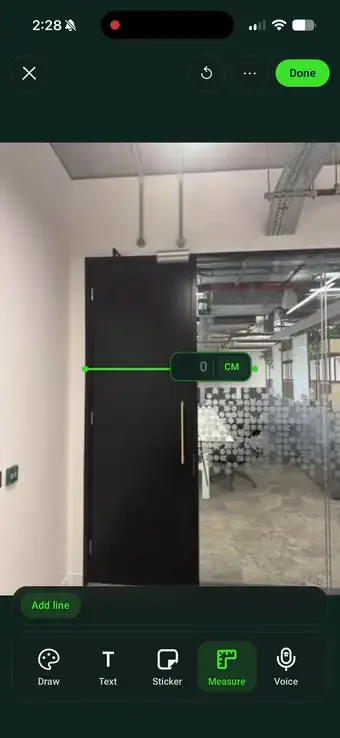
Step 03
Draw the line between two points and key in the real value. It stays written on the photo.
Step 04
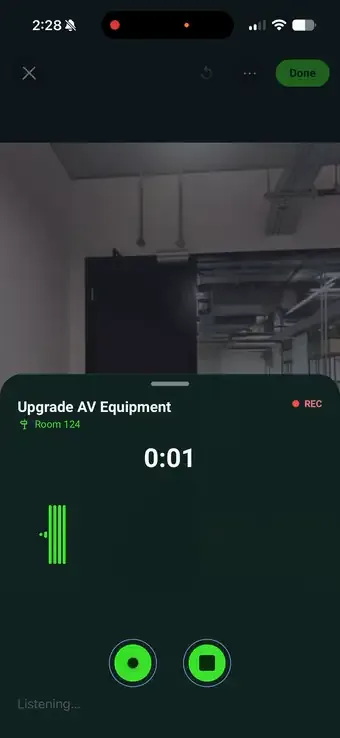
Record a spoken note and it is written out as text under the photo. Play it back, or clear it and start again.
Markup · Plant room 02
Saved to survey ✓Office and field, connected
Annotating on site removes the write-up that normally happens later: no cropping images into a document, no drawing arrows in another tool, no typing a paragraph to describe what a red circle would have said. The photo arrives in the office already explained, filed against the right space, and ready to print.
✓Draw, text, stickers, measurements and voice on the same image
✓Saved against the space, product or form field, never loose in a camera roll
✓Exports into the PDF report and shared links exactly as marked
Your symbols, everyone's photos
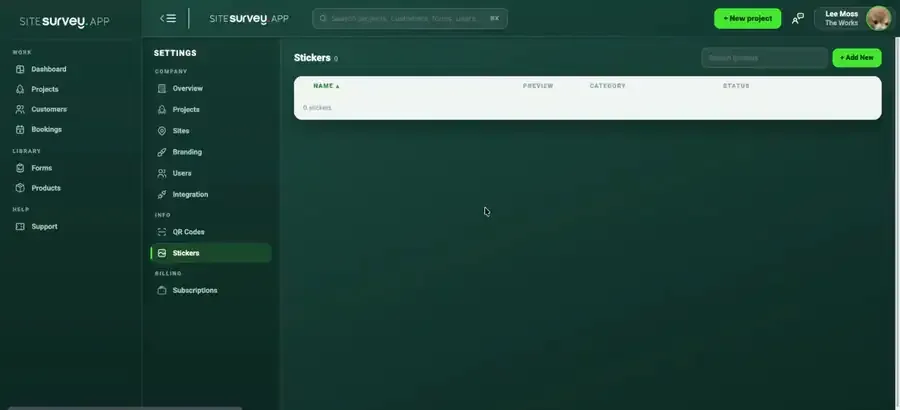
Stickers are your own images, uploaded in Settings and sorted into categories. Add the equipment, hazard marks and status badges your team actually uses, and everyone can drop them straight onto a photograph, so the same symbol means the same thing on every survey.
✓Upload your own images once, in Settings
✓Sort them into categories your team recognises
✓Place and resize them on any photo, on any survey
Photo annotation software lets you mark up a photograph so the image itself carries the explanation, drawings over the detail, text labels naming it, symbols, on-image measurements and notes. On site it replaces the round trip of taking a photo, downloading it and describing it in a separate document: in SiteSurvey the markup happens on the phone at the moment of capture, and the annotated photo files itself against the project record.
Take or select a photo inside a survey, then tap to open the markup editor. A tool rail along the bottom gives you Draw, Text, Sticker, Measure and Voice. Saving keeps both the marked-up photo and the original, attached to the space, product or form field the photo was captured against.
Yes. Choose Measure, draw a line between two points on the image and key in the real value, which is written alongside the line. A door height, a wall run or a clearance gap is recorded visually rather than described in a note. Dimensions stay on the annotated copy of the photo and appear in the exported report.
Yes. The Voice tool records a spoken note against the image, showing the waveform as you speak, and writes the note out as text beneath the photo. The recording plays back in place and can be cleared and retaken before the annotation is finished, useful for the detail that is quicker said than written while you are still on site.
Stickers are reusable images your company uploads once in Settings, sorted into your own categories, equipment symbols, hazard marks, status badges or any icon you use. Anyone in the team can drop one onto a photograph and drag it to size, so the same visual language is used across every survey instead of each surveyor drawing their own symbols.
Yes. The markup editor runs entirely on the device, so photos can be annotated in basements, plant rooms and remote sites with no signal. Annotated images sync to the project automatically when connectivity returns.
Yes. Annotation never destroys the source image, the original capture is retained alongside the marked-up version, so evidence can still be reviewed unedited if it is ever questioned.
Yes. Annotated images flow straight into the PDF report and any shared link, sitting in the section or form field they were captured against. Drawings, labels, dimensions and stickers all render in the export with no reassembly in another tool.
The best photo annotation app for site work is one that marks up the photo where you take it and keeps it with the record it belongs to. Look for drawing, text labels, measurements and voice notes on the image, offline working, the original photo kept, and annotated photos that go straight into the report. If you need to edit photos for print or design, or annotate drawings and PDFs in detail, a dedicated editor or markup tool will do more. SiteSurvey is strong on marking up site evidence in context, offline. It is not a general photo editor.
Photo annotation is used by anyone whose photos need explaining: building and damp surveyors, fire door and safety inspectors, facilities and maintenance engineers, AV and IT installers, and snagging teams. Company stickers let a whole team use the same symbols on every survey.
Image annotations are included in the Base plan, from £13 per user per month. The Works, at £25 per user per month, adds the custom form builder, reports and floor plans. Every plan starts with a trial from £1, cancel any time.
See it on your next site
Go deeper