- 01
Open the sticker library
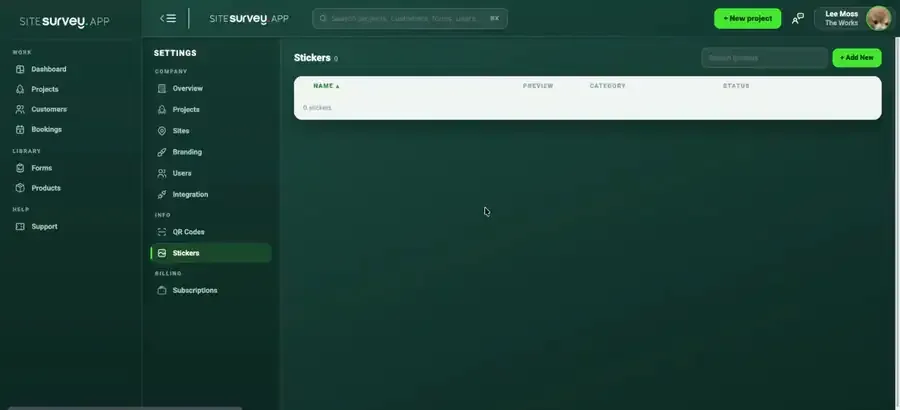
In the web dashboard, open Settings and choose Stickers. The library lists every sticker with its preview, category and status.
- 02
Add a sticker
Select Add New, upload the image, give it a name the team will recognise and pick a category, or type a new category name and Add Category to create one. Save & Close adds it to the library.
- 03
Activate it
New stickers are added with an Inactive status. Switch the status to Active so the sticker appears in the mobile app for the whole team.
- 04
Place it on a photo
On the phone, tap the photo to open it full screen, then tap Edit. Choose stickers in the photo editor, pick your symbol, drag it into position and pinch to resize.
- 05
Save the photo
Save in the photo editor. The photo is updated with the sticker on it and syncs to the project like any other photo.
Good to know
- ✓Build the library before the team leaves for site. Stickers download when the app is online.
- ✓Use categories to keep the list short: one per trade or asset type works well.
- ✓The Stickers page holds images for marking up photos. It is not related to the QR labels printed for products.
Was this guide helpful?
Your feedback helps us improve support content.