- 01
Open the project and add an expense
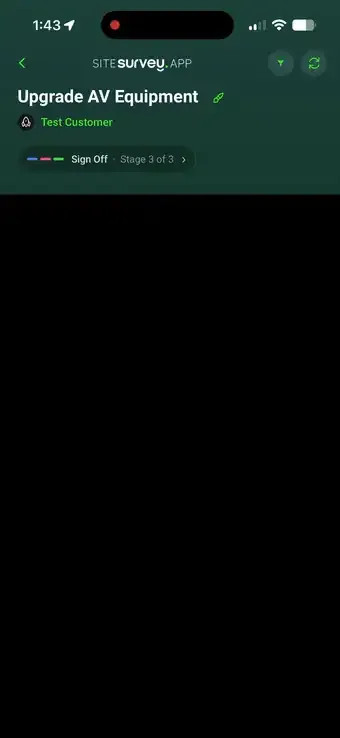
Open the project the cost belongs to, tap the Add New menu and choose Expense. The expense is filed against that project, and you can attach it to a specific space or leave it project-wide.
- 02
Photograph the receipt
Lay the receipt flat in good light and take the photo. That is the only capture you need to do—there is nothing to type.
- 03
Let the app read it
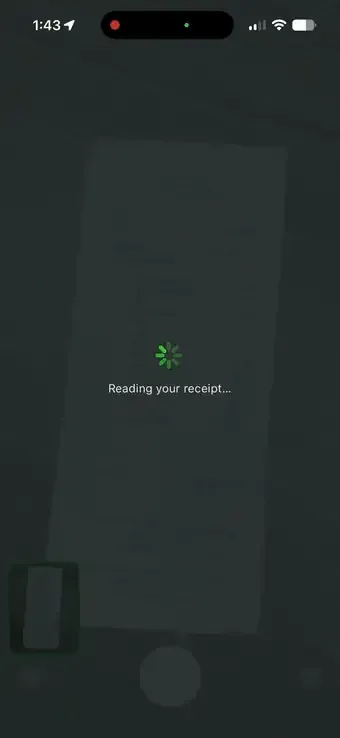
The receipt is scanned while you wait—description, amount and supplier fill themselves in, and each row on the receipt is pulled out with its own quantity and price.
- 04
Check the extracted details
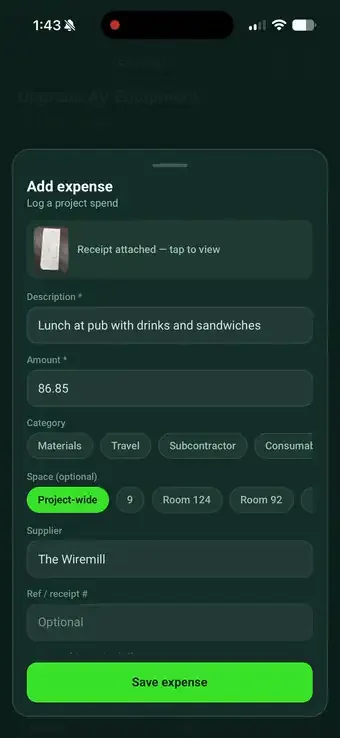
Review the description, amount and supplier before saving. Pick a category—Materials, Travel, Subcontractor or Consumables—attach the expense to a space or leave it project-wide, and add a reference or receipt number if you use one. Fix anything the scan misread by tapping the field.
- 05
Save the expense
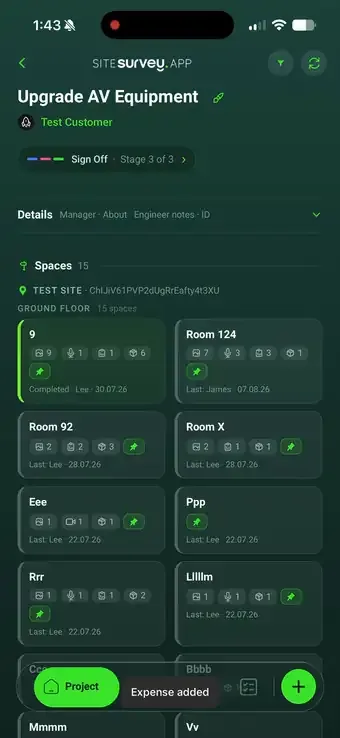
Tap Save expense. The expense lands on the project straight away, and the receipt photograph is stored in the project's Files tab as evidence—linked to the expense it came from.
Good to know
- ✓Snap the receipt where you buy it—the read takes seconds and saves retyping at month end.
- ✓Retake the photo if the receipt is creased or the print is faint; a flat, well-lit shot reads most accurately.
- ✓The extracted lines are checked against the receipt total in the web portal—see Review project expenses in the web portal.
Was this guide helpful?
Your feedback helps us improve support content.