- 01
Open the email templates
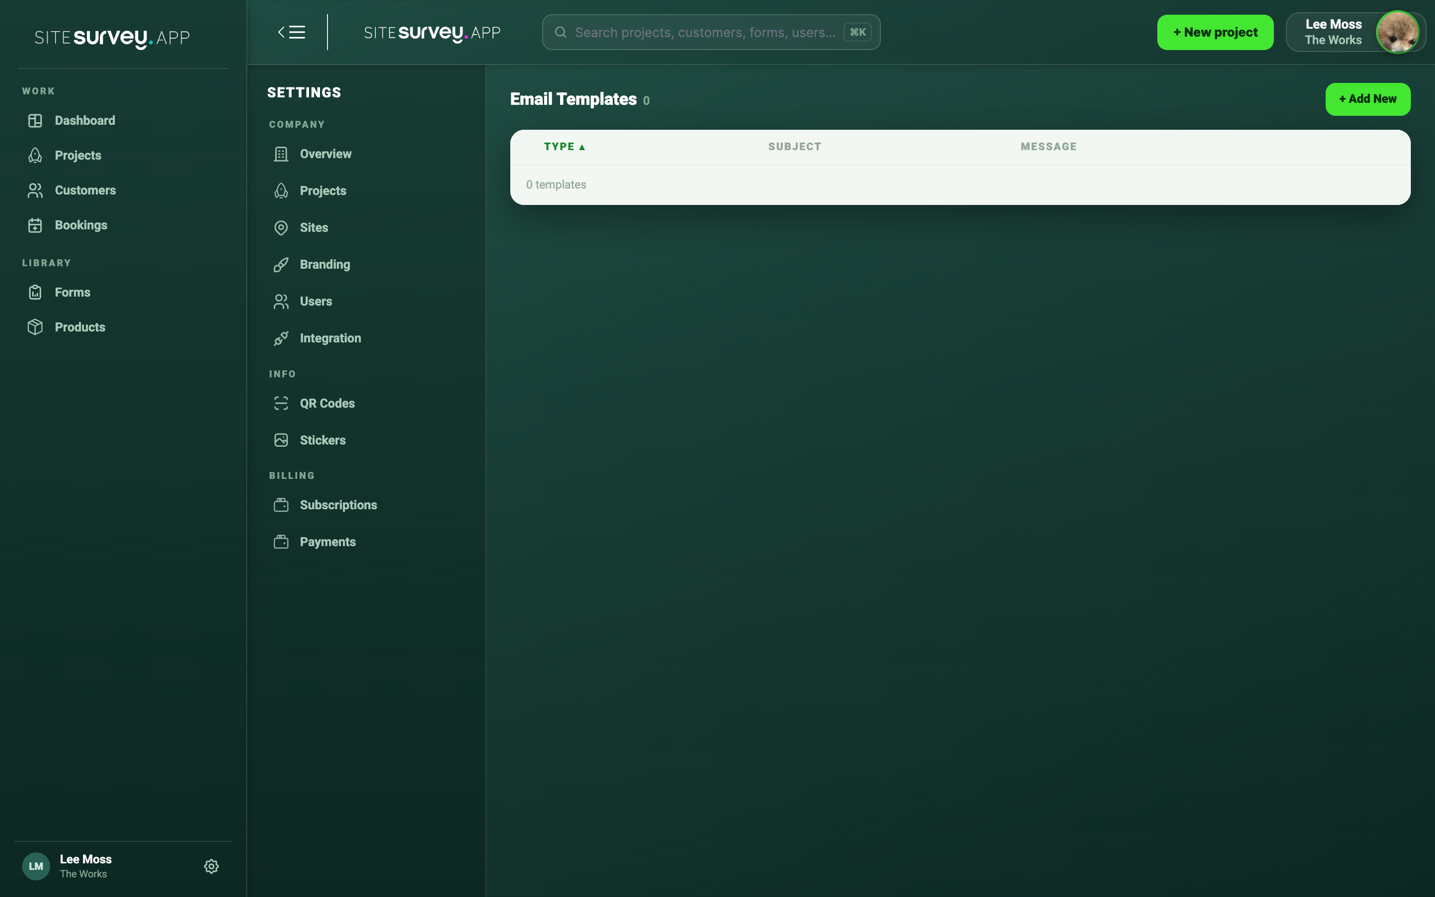
Go to Settings and choose Email Template. The list shows each template's type, subject and a preview of the message, such as the booking email sent when a calendar booking is created or updated.
- 02
Open the template to edit
Select a row, or choose Open on it, to load the template editor. The template's type is shown at the top so you can be sure you are editing the right email.
- 03
Edit the subject and message
Change the Subject field to what recipients should see in their inbox, then edit the Message using the text editor, including any formatting, links or sign-off your company uses.
- 04
Insert placeholders
The Templated Fields panel lists the fields available for that template's type. Select one to copy its placeholder, then paste it into the subject or message — for example, Dear {{requester_name}}. Placeholders are replaced with the real project, customer, site address and booking dates when the email is sent.
- 05
Save the template
Choose Save & Close and confirm the change. The updated template is used from the next email onwards.
- 06
Control whether the email is sent
Use the Active switch on the template to turn that email off for yourself. Workspace super admins see a Disable for organization switch instead, which stops the email for everyone.
Good to know
- ✓Only use the placeholders listed in the Templated Fields panel — other text in double braces will not be replaced.
- ✓Keep the booking details such as dates and site address in the message so recipients can act on the email without signing in.
- ✓Templates are shared across the workspace, so agree the wording with your team before saving changes.
Was this guide helpful?
Your feedback helps us improve support content.