- 01
Schedule a delivery from the project
Open the project, go to the Products tab and tick the products being moved. Select the Delivery Schedule button, choose whether the goods are coming from your company, a 3rd party or the customer, then set the due date and the check-in site and space.
- 02
Set the confirm type
Choose On Order when the products are still expected, or Holding when they are being stored before heading to site. Save the schedule to add it to the deliveries list.
- 03
Review the deliveries list
Open Products > Deliveries to see every schedule with its customer, project, PO number and how many products are confirmed. Overdue schedules are highlighted in red, and you can search by PO number, customer or project.
- 04
Confirm what arrived
Open the schedule and use the Products tab to tick the items that turned up, adjusting quantities for partial deliveries. Enter the name in Signed By and confirm—the status updates to Delivered, or Partial when some items are still outstanding.
- 05
Print the proof of delivery
Use the Print POD button on an open schedule to produce a proof-of-delivery document for the customer or your records. The Activity tab keeps a history of changes to the schedule.
- 06
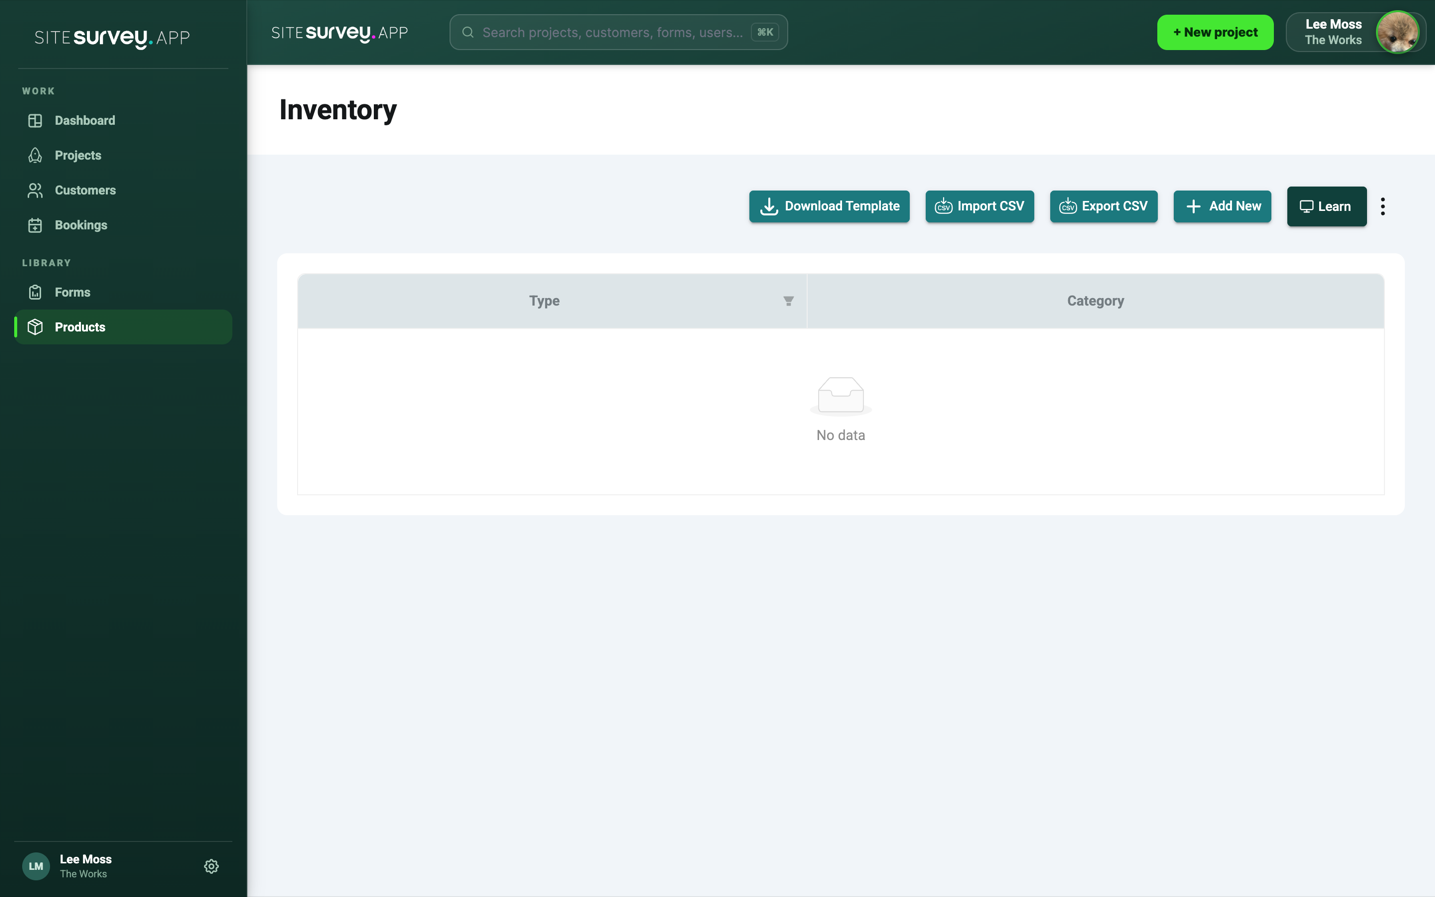
Check stock and assets
Products > Inventory lists your catalogue stock and lets you add items individually or in bulk with Download Template and Import CSV. Products > Assets shows each individual item, and you can filter by customer, site, space and delivery status to see exactly where everything is.
Good to know
- ✓Delivery schedules always start from a project's product list, so add products to the project before booking anything in.
- ✓Use Assets when you need to trace one specific unit; use Inventory when you need overall stock levels.
Was this guide helpful?
Your feedback helps us improve support content.